
Just playing with the camera
Whoa, it might take a while to play catch-up with old entries – a sign that RL demands your time but rewards you with money while a personal blog also requires time but may reward you with abuse/endless silence of the great depths of the universe (and needs money to host). Anyhoo, ignoring the still-draft entry introducing my ‘new’ (more than 5 months of use) robust bento bako, cool furoshiki and second-hand collapseable chopsticks (seriously an odd and random find) I’ll get straight into this mega breakdown of a lunch. Because this is another competition submission this will be a little more verbose than other entries, plus it gets to show off some photos taken by my co-conspirator.
My official “3-to-4 sentence” description:
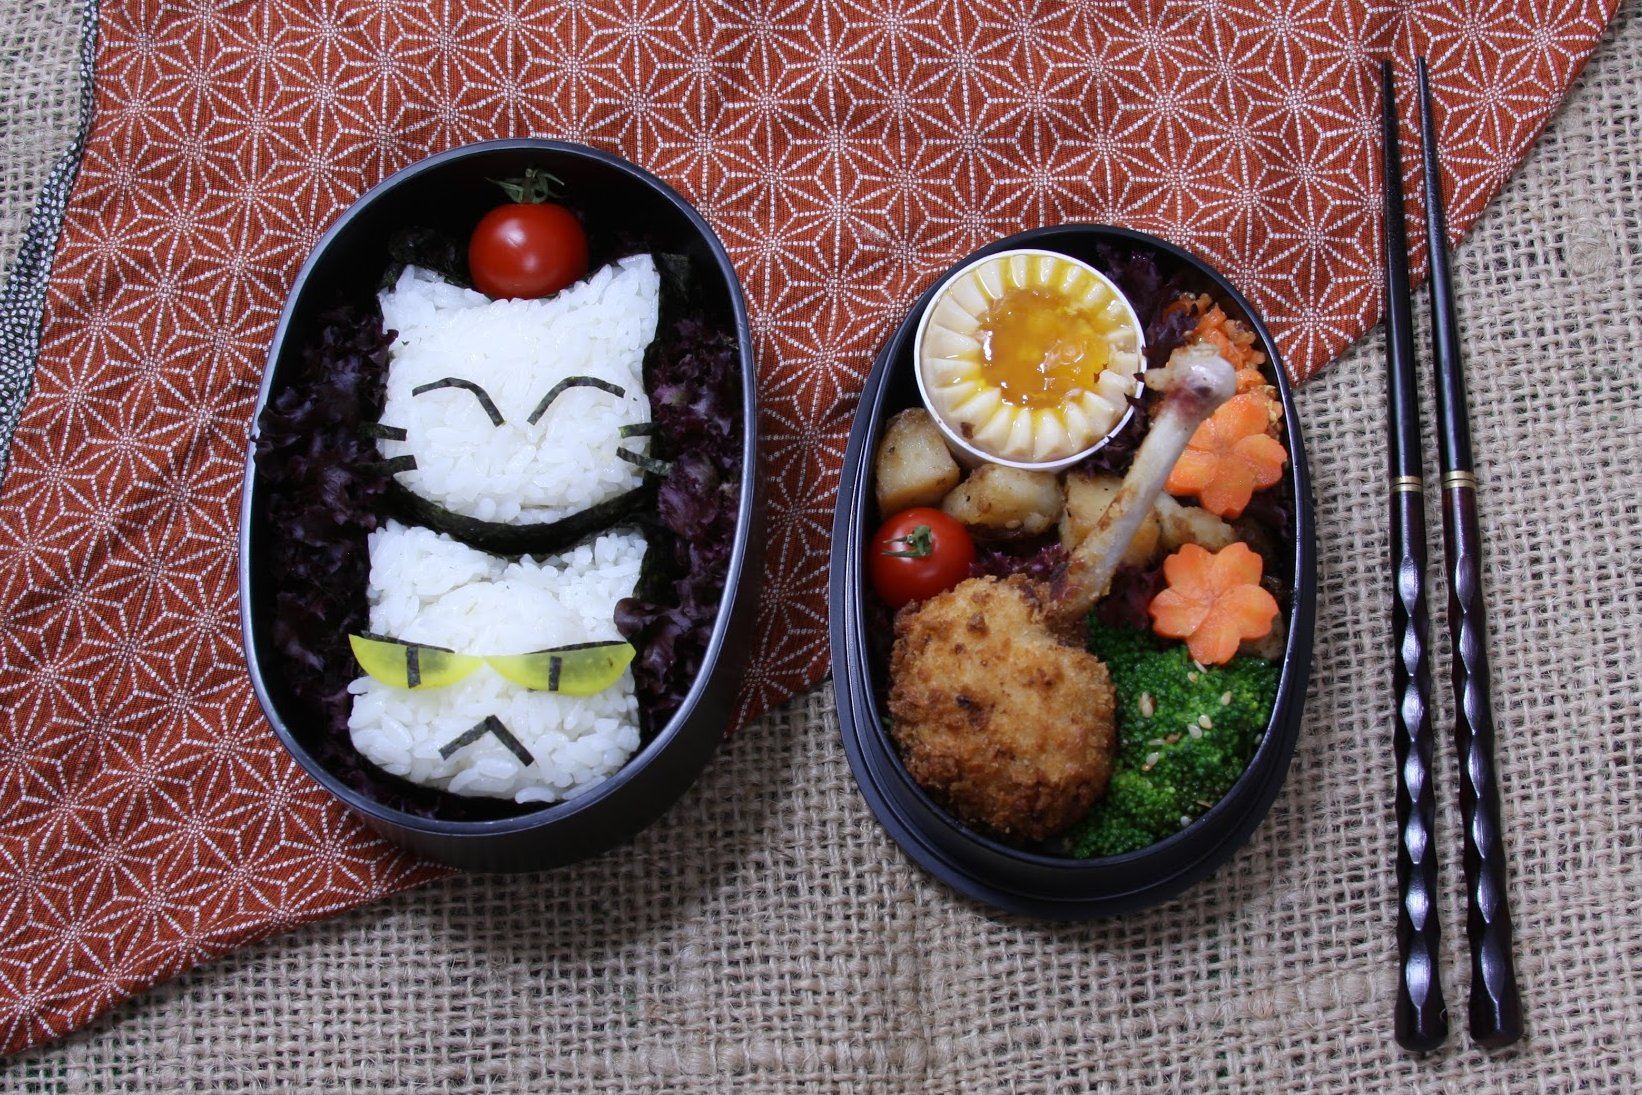
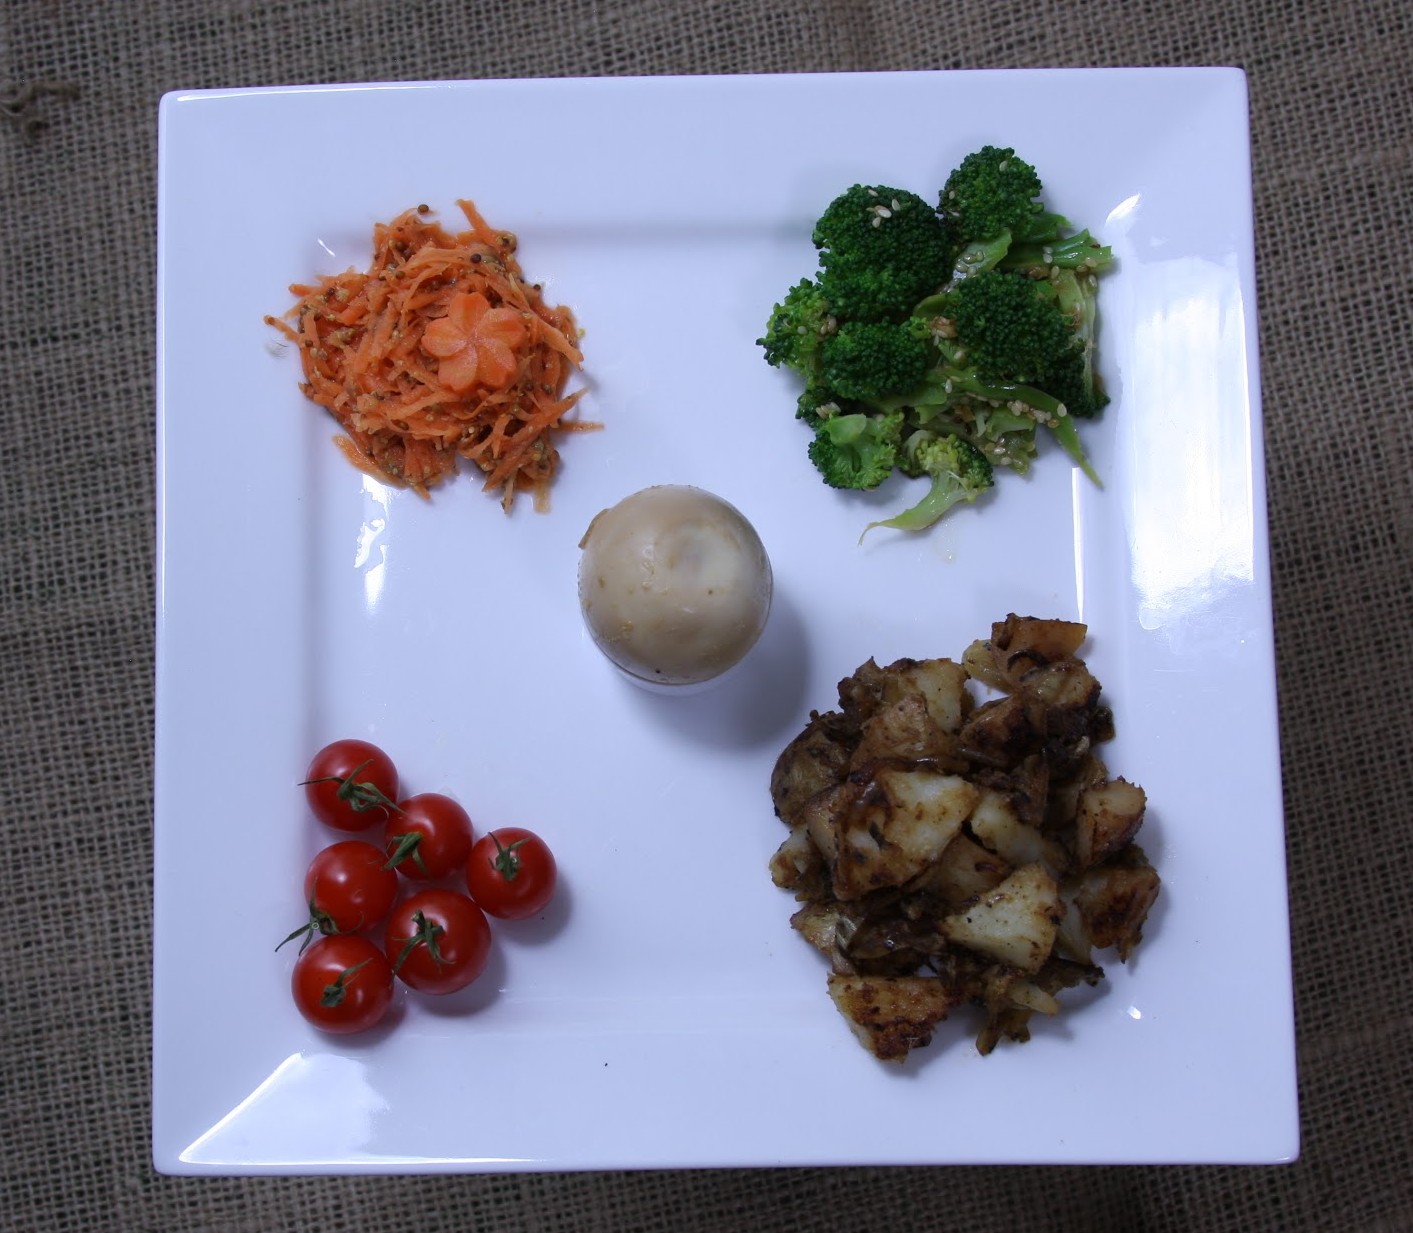
The things you do with the proverbial carrot dangling, but not getting the prize. Instead I won the embarrassment of opening this lunch at work: yay! Cat onigiri (plain rice with nori, my ‘other’ ingredient) with miso egg, French-inspired citrusy mustard carrot salad, Korean-style potato (gamjajorim), tomato, a shiokoji-marinated chicken lollipop and broccoli namul. Gawd why do I put this effort in a contest I never get placed in I’ll never know..
From the required contest ingredients the only one left untreated (note: I consider plain steamed broccoli ‘untreated’) was the cute locally grown tomatoes. Everything apart from the lettuce (bleh rabbit food) had something to offer the tastebuds – and this is probably one of the likely reasons I won’t lose weight in a hurry.
French-inspired Carrot Salad
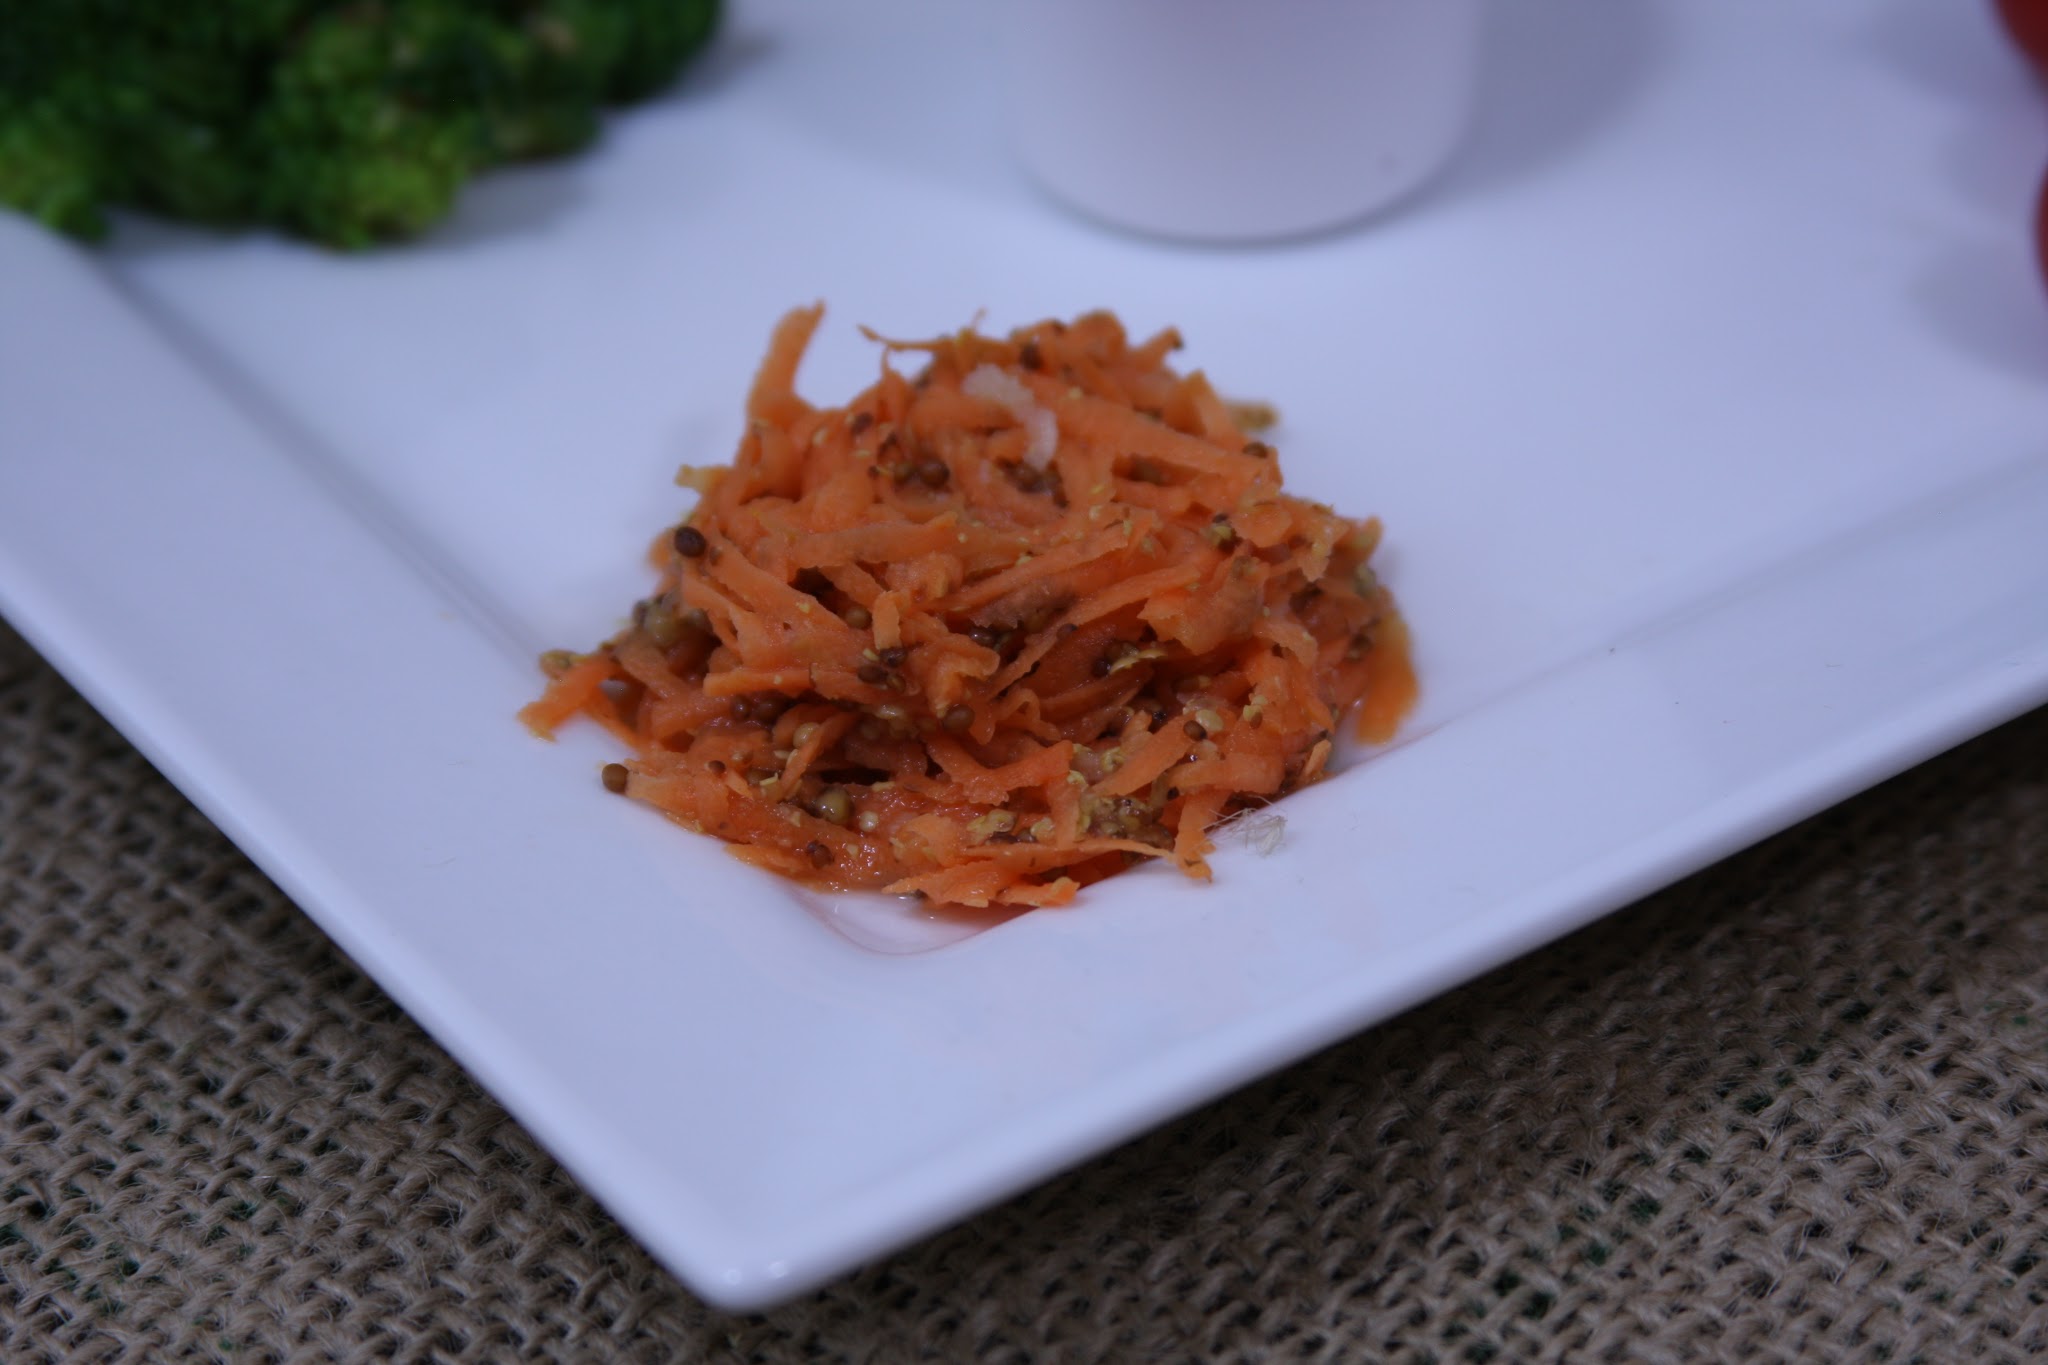
French-inspired carrot salad
This is a no-cook way of serving carrots – because I find too much raw carrot in my life is too boring. The salad is a sharp citrus contrast to the deep fried chicken and adds an overall freshness to the ensemble.
- Grate carrot with a cheese grator as course or fine as you desire. Though too fine will create a carrot mush that you can use to fill out a minced meat dish (eg: hamgurgers, ragu). Squeeze out excess water
- Add as much lemon juice and whole grain mustard to evenly mingle with the carrot and mix
- Adjust amounts of lemon and mustard. If you must sweeten it a little I’d use non-alcoholic mirin. Adding freshly ground pepper to taste can also be used
The carrot garnishes are simply shaped, briefly steamed (ie: pour boiling water on them and let them ‘cook’ for about 2 minutes) then tossed in some lemon juice.
Broccoli Namul

Broccoli namul – one of the many ways to make greens more interesting
This is my easy namul treatment – the only cooking needed is to blanch or stir-fry what veg you want to use. Other contenders I’ve used before are spinach (frozen is great – they come pre-divided up into lunch-sized portions) and carrot. I cheat by pre-steaming the broccoli and breaking up and season what I need for the next day.
- Break up florets of broccoli and steam
- When cool enough to handle, break down the florets smaller to be compatible to packing into your lunchbox
- Add a splash of toasted sesame oil, soy sauce and roughly ground toasted sesame seeds and mix. Optionally add a minute amount of finely grated garlic for some extra impact. Garnish with whole toasted sesame seeds
Miso Egg
Vegetarian ingredients; egg centerpiece
I think I’ve made it abundantly obvious I like my eggs runny – one of the great things in my area is a local green grocer who sources some legitimately free range (and all that shebang) fresh eggs from a farm that I can drive to in 5 minutes. It makes up for a childhood of bullet eggs from the supermarket. As you need time for the miso to penetrate the egg you can keep them stockpiled in the fridge for a few days though the saltiness will build up the longer you leave them – I’d not give them longer than a week at most. Cut in half it is a welcome addition to home-made ramen.
Excess miso mix can be used as a condiment with plain rice or incorporated into other things that need a little saltiness and umami.
- Chop up some spring onion and stir-fry on high heat until they slightly brown
- Take onions off heat and stir in white miso, a splash of soy sauce and mirin until blended. Cool this mixture
- Boil eggs to the consistency you desire. For my soft boiled: put enough water to cover the batch of eggs in the saucepan and heat water until steaming (pre boiling) before adding the eggs. I time about 4 minutes once the water has reached boiling point and immediately cool the eggs in cold (doesn’t need to be ice) water
- When the eggs you wish to miso-upgrade are cool enough, peel the eggs and place each on a sheet of cling wrap that is big enough to twist into a parcel
- Put about 2-3 tablespoons of the miso mix atop the egg and ‘seal’ the package trying to omit excess air. Carefully massage the mix around the egg. Repeat for all the eggs required
- Leave egg parcels in the fridge – they are better with at least a night marinating
- For serving, just unwrap the egg and wipe off the miso – it should discolour the white
Korean Potato Side Dish – Gamjajorim
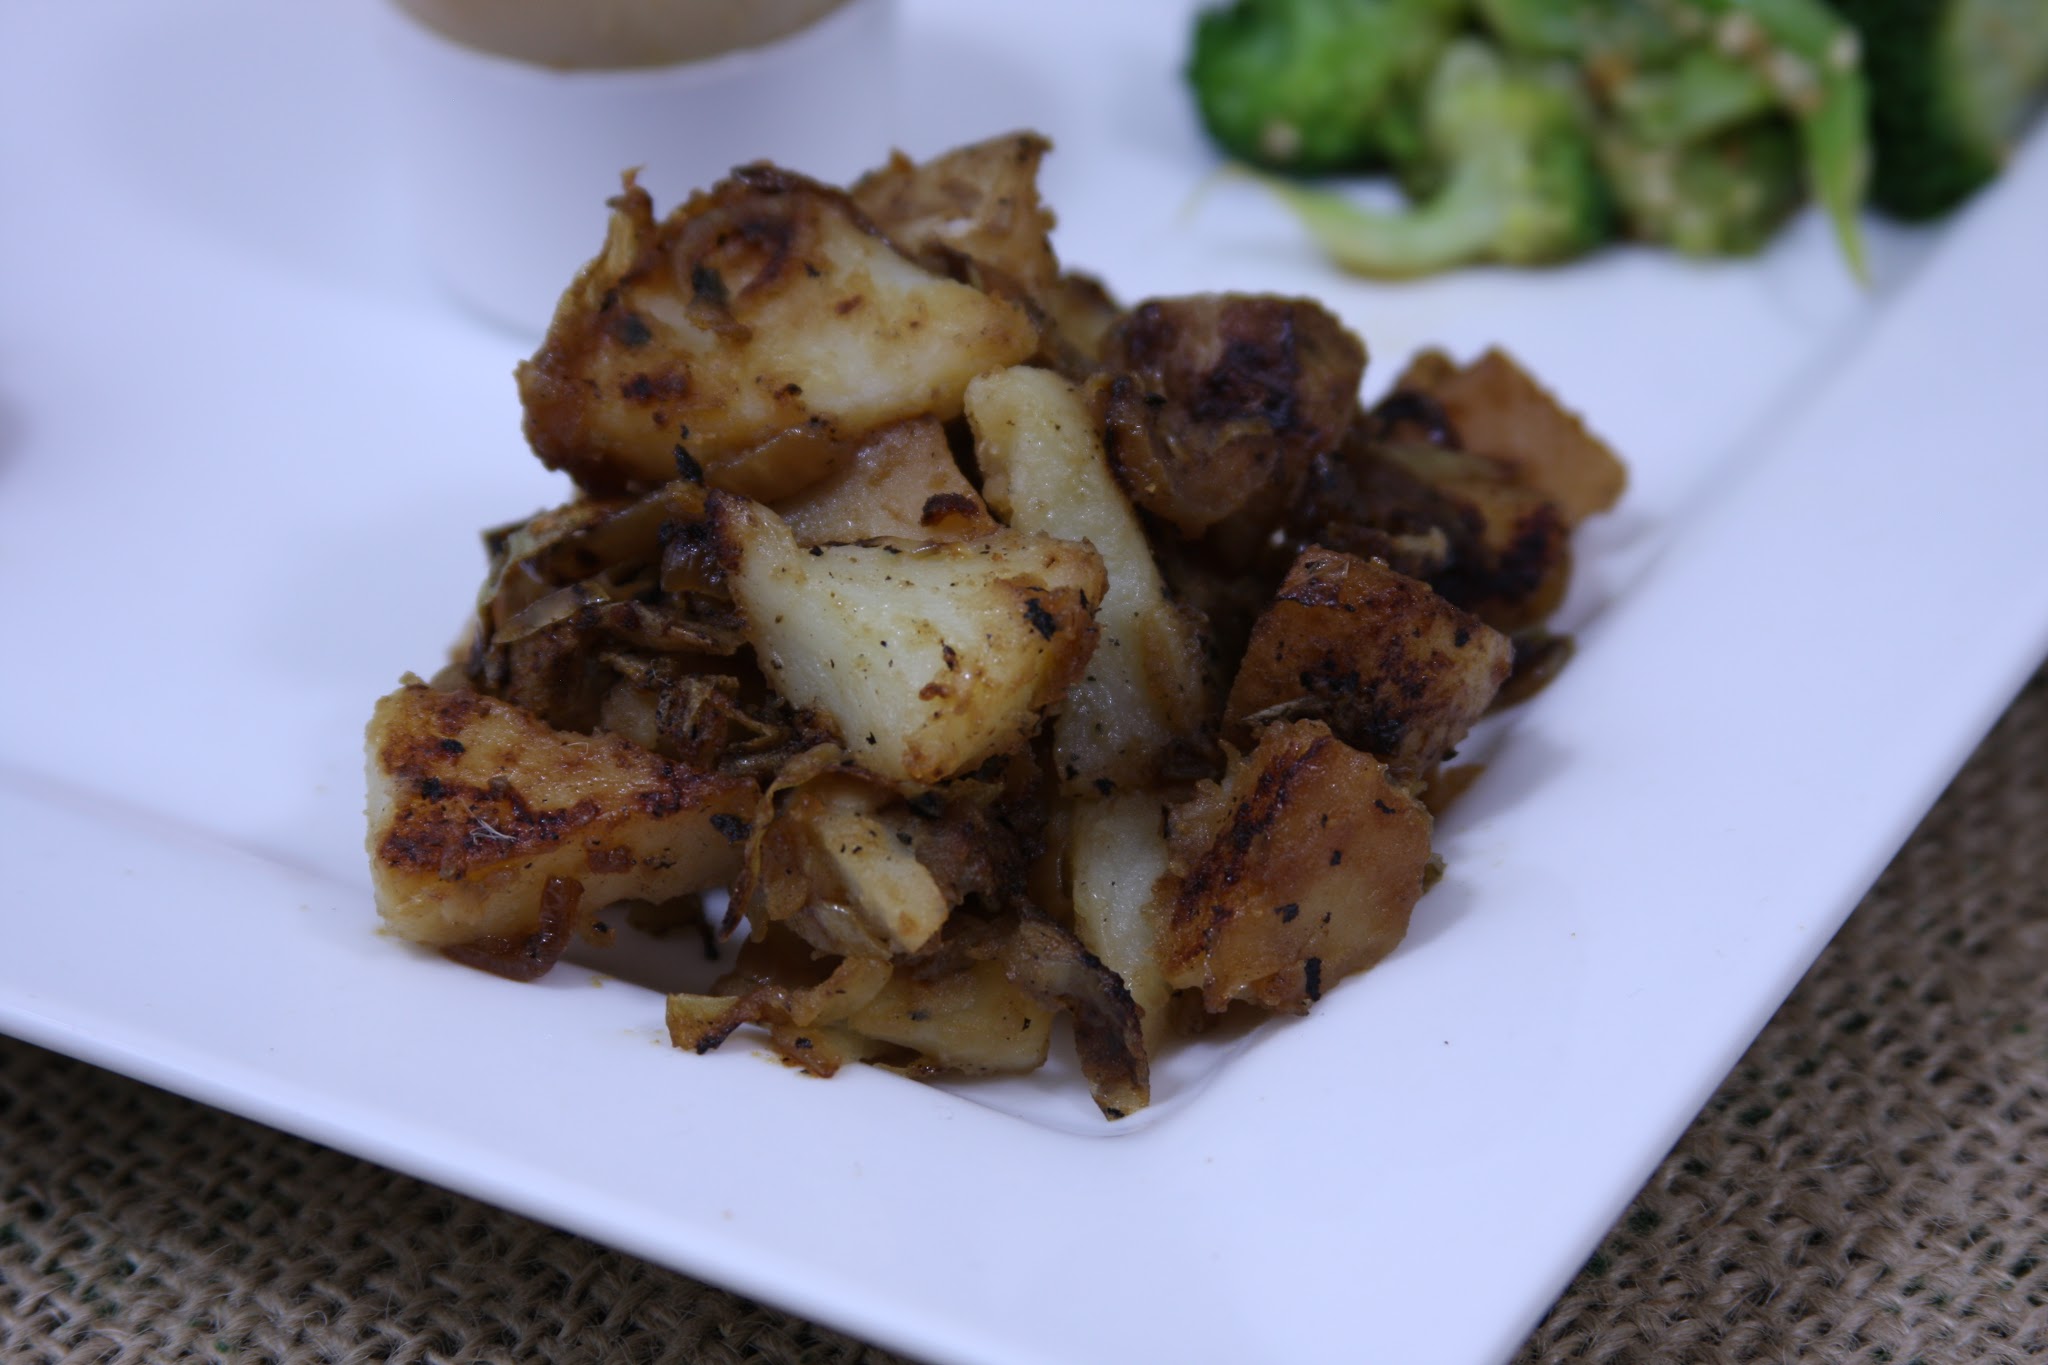
Korean-style potato
No research into Korean recipes in english possibly skims Maangchi, and her potato recipe did not disappoint, though I did poke around with it: using pre-boiled potato and precooked ‘onion-garlic’ I can make small batches as I need them.
- Dice some brown onion and grate some garlic (yeah, accurate amounts there)
- In a little oil, slowly fry the onion until translucent and slightly brown then add the garlic. Remove from heat when the garlic becomes aromatic
- Preboil new potatoes until they are slightly harder than the consistency used for potato salads. I left the scrubbed skins on
- When cool enough to handle, chop up the potato into bite-sized (more accurately: lunchbox-compatible-sized) pieces
- In a fresh pan, heat a little oil then add the potato. Cook quickly on high for colouration
- Reduce heat and add the onion-garlic mix to taste and mix through, cooking until this too has heated through
- Add some soy sauce and coat (not too much!) the potatoes
- When about half of the soy sauce has been absorbed also add mirin to taste
- Cook until the liquid ingredients have been absorbed by the potatoes and onion
Shiokoji-Marinated Chicken Lollipops

Chicken lollipops: evil on-a-stick
Normally one would find a packet of chicken wings to perform lollipopification; but the most ethically sourced chicken in the local mini supermarket was whole. The extra step in breaking down the chicken helped keep the butchery skills in practice and provide some more fodder for stock making. However, it did turn out that this might of been quite a large chicken – I could only fit one ‘pop’ in the box.
Shiokoji appears to be having (yet another) popularity revival and adds a combination of salty-sweetness that I find is difficult or impossible to replicate with salt/soy and sugar/mirin as it seems that the sweetness tastes like it’s drawn out of the meat it is marinade to. Surprisingly I’ve yet to try this with the BBQ though it has been highly recommended.
- Pre-step: if you start with a whole bird, you just need the wings for lollipops. Feel free to break down the rest of the chicken for use elsewhere
- Prepare the lollipops formed by both wings – you will have 2 per wing
- Grate 1 large garlic clove into a mix of 3-5 tablespoons of shiokoji
- Massage the marinade onto the flesh of the lollipops and leave in the fridge for at least half an hour
- Prepare beaten egg, plain flour and breadcrumbs/panko. We are going the distance with the evils, baby!
- Heat oil to ‘tempura hot’- about 170-180°C and flour-egg-crumb each lollipop you would put in a batch. Fry the meat ends in until they are light-golden brown
- Once all the chicken has been fried quickly once, lower the temperature to about 150-160°C and re-fry again in batches until cooked. At this stage, ensure that the bone end has at least had a little time in the oil to sterilize it
- Place on a rack to allow excess oil to drip off
You know, despite my abject failures to even get a placing in the past, I don’t even know why I bother submitting these entries. Contests like this that clearly favour what is a “arts-and-crafts project, using food”* that requires time I don’t have** under ideal lighting conditions*** likely using some social media platform I dislike****.

Happy cat, grumpy cat – more like Grumpy Kat amirite?
Footnotes:
- I can’t take credit for that – paraphrasing this awesome quote whose source I’ve forgotten
- Full time job, and commuting, and regular house keeping, and beer festivals, and beer apps – sometimes I just want the interwebs to lulz me to sleep
- If natural light is best for photos then most of the UK is doomed. “English Summer” is always written and said with the surrounding quotes
- Let’s be clear: that dislike is for all of them. Including Google+, because I use it in the knowledge that NO ONE CARES ABOUT GOOGLE+ (including Google; hey any key points at I/O 2014??? Is that crickets?)